Have the power to record screencast presentations from any Mac, or Windows computer. Create video lessons, bring in real-world content from your smartphone, upload images and videos you already have.
Videos you create will be uploaded to a private space and saved securely in the cloud. Share content with everyone in the college, specific groups, or individuals.
How do I get it?
- Step 1: Go to http://relay.algonquincollege.com and enter your Algonquin College username and password.
- Step 2: Click the Client Downloads link on the right side of the page.
- Step 3: Choose the correct download for your operating system.
How do I update my recorder?
- Launch Techsmith Relay on your computer and log in with your Algonquin College username and password.
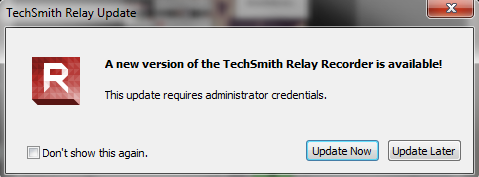
- Click on Update in the top menu
- In the pop up window, click on Update Now
- Click on Install
Using TechSmith Relay
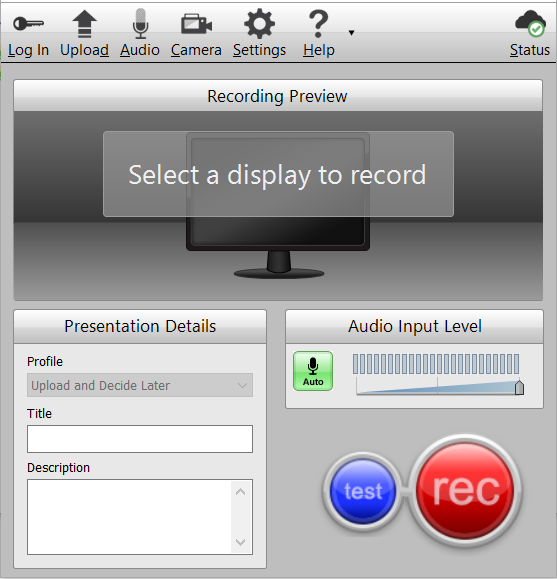
- Launch the program on your computer and enter your Algonquin College username and password.
- Give your recording a title and description (if needed).
- Verify your input sources (screen, camera and microphone) are working correctly by using the buttons at the top (Display, Camera, and Audio).
- Note: You have the option of incorporating a video of yourself on the bottom right corner while presenting by choosing a camera.


- Click the Record button.
- Note: You can use the "test" button to see how your video will record.
- Click Pause if you need to pause the recording at any time during the presentation.
- Use the Stop button to finish your recording.
- If needed, use the "Trimming" button to trim the beginning and end of your video:
- Use the scrub bar to position on the points you wish to trim, and use the trim handle buttons:


- Under the "Profile" dropdown, choose an output option for your video:
- Algonquin College High Resolution Standard (Recommended) - This profile creates a high resolution video file.
- Algonquin College High Resolution Standard with Closed Captioning (Recommended) - This profile creates a high resolution video with Closed Captioning.
- For more help with captions: http://assets.techsmith.com/Docs/pdf-techsmithRelaySelfHosted/Caption-Editor-Help.pdf
- Algonquin College Standard - provides 2 encoding settings:
- 1. Web - Flash MP4 (800x600)
- 2. Mobile - Generates a file that will play on all iPads and iPods. It will also work on iTunes and other computer players.
- Algonquin College Standard with Closed Captioning - This profile is the College Standard with Closed Captioning.
- Algonquin College Standard with MP3 - This profile is the College Standard with an added MP3 file included.
- Upload and Decide Later - Guess what this profile allows you to do. The presentation is uploaded to the encoding server where it will sit in the Needs Attention
- Click Submit
- You will receive an email with a link to your video.


